How to Add Google Ads on Your Website: A Detailed Guide
Adding Google Ads to your website can be a game-changer for your online business. It’s a powerful way to generate revenue by displaying targeted advertisements to your audience. In this guide, I’ll walk you through the entire process, from setting up your Google Ads account to placing ads on your website. Let’s dive in!
Step 1: Create a Google Ads Account

Before you can start displaying ads on your website, you need to create a Google Ads account. Here’s how to do it:
- Go to the Google Ads website and click on “Start now.”
- Sign in with your Google account or create a new one.
- Enter your business information, including your business name, address, and contact details.
- Select your business type and industry.
- Choose your payment method and set up billing information.
- Review and agree to the terms and conditions.
- Click “Continue” to finish the setup process.
Step 2: Choose Your Campaign Type
Google Ads offers various campaign types, each designed for different advertising goals. Here are some of the most common types:
- Search Campaigns: These ads appear on Google’s search engine results pages when users search for keywords related to your business.
- Display Campaigns: These ads appear on websites and apps that are part of the Google Display Network, reaching a broader audience.
- Shopping Campaigns: These ads showcase your products and appear on Google’s shopping platform, helping users find and purchase your products.
- Video Campaigns: These ads appear on YouTube and other video platforms, reaching users who are watching videos.
Choose the campaign type that best aligns with your advertising goals.
Step 3: Set Up Your Ad Groups
Ad groups are collections of ads that share a common theme or goal. To create ad groups:
- In your Google Ads account, click on the campaign you want to add an ad group to.
- Click on “Ad groups” in the sidebar.
- Click on the “Create ad group” button.
- Enter a name for your ad group and select a campaign budget.
- Choose a bidding strategy and set your bid.
- Select your targeting options, such as keywords, demographics, and locations.
- Click “Save and continue” to create your ad group.
Step 4: Create Your Ads
Now it’s time to create your ads. Here’s how to do it:
- In your ad group, click on the “Ads” tab.
- Click on the “Create ad” button.
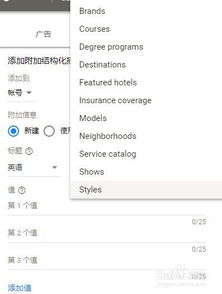
- Select the ad format you want to use, such as text, image, or video.
- Enter your ad text, images, or video content.
- Set your ad extensions, such as sitelinks, call extensions, or location extensions.
- Review your ad and click “Save and continue” to create your ad.
Step 5: Place the Ad Code on Your Website
Once your ad is created, you need to place the ad code on your website. Here’s how to do it:
- In your Google Ads account, click on the campaign and ad group where you want to display the ad.
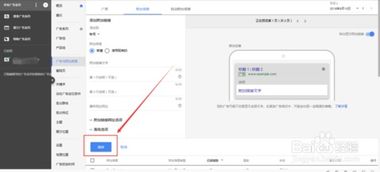
- Click on “Ad extensions” in the sidebar.
- Click on “Get ad code.”
- Copy the ad code provided by Google.
- Paste the ad code into the HTML of your website where you want the ad to appear.
Make sure the ad code is placed in the correct location on your website to ensure it displays properly.
Step 6: Monitor and Optimize Your Ads
Once your ads are live, it’s important to monitor their performance and make adjustments as needed. Here are